今天,客户访问网站是为了检查企业的真实性、购买产品、寻求信息、加入任何社区、观看视频以获取知识或娱乐、阅读博客或只是联系企业。 在 B2B 营销中,网站是一种更专业的与客户联系的方式。 一个网站展示了一个合法的企业、一个成熟的商业组织、一个值得信赖的群体和一个可信的所有权。 结构良好且设计精美的网站是企业的宝贵资产。 这强调了“高效网站”在企业发展中的重要性。 Entrepreneur 网站上发表的一篇文章指出,当 ESPN.com 修改其网站主页时,收入增长了 35%。 客户更倾向于相信拥有专业网站的品牌。
早期的网站仅由设计师和程序员构建,他们过去常常编写繁重的代码来在网站中添加图形、文本和其他功能。 今天,任何具有基本计算机技能的人都可以使用需要零技术编码技能的网站构建器来制作专业的网站——难怪企业经常寻找最新的 网站构建器软件 来构建高端网站。 网站构建器软件不是您业务的可选实体,而是必要的投资。 如果没有网站构建器,我们必须对网站的每个页面和帖子进行编码,然后在多个浏览器上对其进行测试。 如果出现错误,我们必须再次修复代码。 这是一个复杂的过程,只能由程序员或编码人员完成。 因此,对于非技术人员来说,网站建设者是一个更好的选择。
什么是网站构建器软件?
网站构建器软件提供工具、插件和模板,以及无需手动编辑代码即可构建网站的框架。
网站构建器软件可以 轻松地:
- 为您的网站创建新的登录页面
- 创建网站菜单和页面
- 更改主题、模板、字体、文本、图像
- 与外部插件集成以添加功能
- 将帖子、联系表格、视频、博客添加到您的网站
建站软件的目的:
创建网站构建器软件背后的供应商、营销人员和软件工程师在他们的脑海中有着特定的目的。 他们的目标是为非程序员提供一个平台和工具来创建自己的网站,而不需要网站编程或后端流程的共谋。 构建网站创建软件时,要牢记想要构建和维护网站而无需向网站管理员或网页设计师支付大量资金的普通非技术用户。 因此,免费的建站软件非常受小企业主、摄影师、自由职业者、顾问、博主、评论家、学者、培训机构、零售企业、电子商务零售商等的欢迎。
网站构建器的基本要素是什么?

以下是网站构建器软件的 8 个基本要素:
1. 模板
模板是预先构建的网页布局。 如今,响应 模板用于 设计网站 ,因为它们可以响应浏览器宽度的变化。 这使得它们非常适合桌面版和移动版网站。 响应式模板功能更好,并且对移动设备友好。 这些模板会根据屏幕分辨率的变化调整其布局。 它们通过屏幕元素适应字体、高度、视频大小。 免费 网站建设者具有响应式模板,旨在实现最佳查看和轻松导航。
2. 插件
插件是增强网站功能的附加工具。 它是一个额外的组件,当添加到现有的网站构建器软件中时,它会为程序添加特定的功能。 不同的网站建设者支持添加自定义的不同插件。 但是,在下载插件之前必须小心,因为它们可能包含有害的恶意文件。 确保仅从插件的官方网站下载网站构建器推荐的插件。
3.上传图片
网站建设者允许用户上传PNG、JPEG、SVG等各种格式的图像和图标。用户可以替换当前的模板图像。 用户可以更改在后台使用的图像。
4. 主题和颜色
主题是网站建设不可或缺的一部分。 所有网站页面都建立在特定主题之上。 网站建设者免费提供各种内置主题。 您可以选择适合您品牌格式的一种。 主题包含布局、颜色、列、设计元素和排版。 主题还负责网站速度、搜索引擎优化和用户体验。 编码不佳的主题可能会降低您的网站速度。
5. 内容管理
向主题和基于主题构建的其他网页添加可读文本对于提供有关您的网站的信息(例如您的产品、服务、功能等)至关重要。此信息或描述可帮助您的网站访问者分析您的产品或服务以制作购买决定。 文字对于关键字排名很重要。 更新的和原始的高质量文本内容会提示搜索引擎对您的网站进行爬网和索引。
6. 社交链接
今天,所有品牌都依赖社交媒体来进行内容参与、扩大公众影响力和有效的数字营销。 将社交链接/按钮放在页眉或页脚或侧边栏,让您的访问者访问您的社交媒体,不仅可以让您获得更多的客户参与度,还可以提高在搜索引擎中的知名度。 网站建设者允许您在您的网站上放置高质量的社交媒体链接。
7. 联系表格
联系表是网站上的一个页面或部分,允许访问者联系网站所有者。 联系表格具有填写姓名、电子邮件或电话、消息等的字段。一旦访问者提交联系表格,网站所有者就会获得联系访问者所需的信息。 有时,网站构建器软件模板没有添加联系表单的选项。 在这种情况下,用户可以通过外部插件添加联系表单。
8. 嵌入式视频
嵌入式视频允许用户使用第三方视频流服务的资源在其网站上运行视频。 使用您自己的网站运行视频可能会增加您的带宽负载并减慢您的网站速度。 嵌入通过在其他网站的服务器上托管视频来缓解这个问题。
使用网站构建器构建网站的过程是什么?
- 下载网站构建器或注册基于云的或在线网站构建器服务。
- 从网站构建器软件中可用的免费主题列表中为您的网站选择一个主题。
- 在框架上安装主题,然后通过单击“激活主题按钮”来激活它。 主题会自动安装网站的第一页。
- 通过更改文本格式、大小、样式和边距来开始编辑和自定义主题和首页部分以满足您的需求。
- 您可以根据需要添加部分或删除现有部分。 所有部分都使用拖放功能。 可以选择禁用不需要的部分。
- 您还可以将预构建的模板、块或页面添加到您的主题中。
- 如果您需要更多功能,例如向您的网站页面添加“表单”、“cookies”、“ SEO 工具 ”、“图像优化器”,那么您可以添加额外的插件。 大多数网站构建器软件都提供了与他们的网站构建器一起使用的兼容插件列表。
- 在构建您的网站时,您可以利用所见即所得编辑器来预览您的页面外观。
使用网站构建器构建网站有什么好处?
消除手动代码
网站建设者是用户友好的软件工具,不需要用户具备编码知识。 网站编码是在后端自动完成的,而用户只能看到他们网站页面上发生的直接变化。 因此,小企业主、自由职业者、博客作者、顾问等无需编码技能即可制作自己的网站。
以更快的速度建立网站
许多网站建设者可以在几个小时内准备好您的网站。 借助复制粘贴功能、预建布局、拖放模板和预嵌入代码,您可以以闪电般的速度创建网站。
专业设计:
缺乏编码要求并不意味着网站构建不佳或布局设计不专业。 使用网站建设者建立的网站具有专业的界面和设计。
很容易被搜索引擎索引。
大多数网站建设者都具有使网站易于被搜索引擎搜索的功能。 使用此类构建器制作的网页经过优化,可以轻松被搜索引擎索引。
移动优化
大多数网站访问者通过手机访问网站。 拥有针对移动设备进行优化的网站对于满足移动用户的用户体验至关重要。
实时更新
用户更喜欢定期更新其内容的响应式和动态网站。 使用网站构建器软件,您可以随时更新您的内容。 您不必聘请网站设计师或等待网站管理员更新您的网站。
降低成本
通过允许您轻松构建自己的网站,网站建设者降低了聘请网络顾问和 网页设计师 。
利用最佳商业实践
网站建设者中预先存在的模板是由专业的网站建设者设计的。 最佳商业实践和当前趋势在设计时被纳入其中。 您可以利用最佳实践,而无需从头开始做任何事情。
从任何地方进行网站更新
当您想在您的网站上进行更改或安装更新时,网站构建器非常有用。 您可以在任何有互联网连接的地方进行操作。

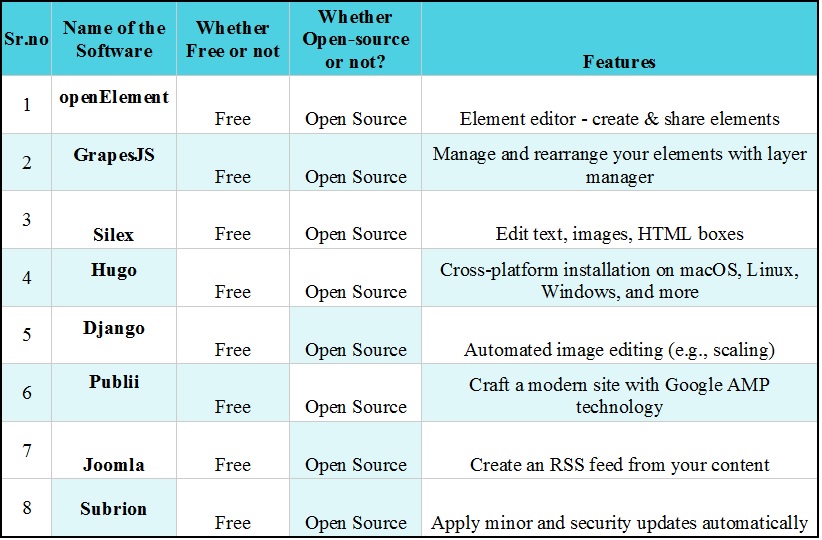
8 款最佳免费和开源网站构建器软件列表:
- 开放元素
- 葡萄JS
- 燧石
- 雨果
- 姜戈
- 公众号
- Joomla
- 苏比翁
8 款最佳免费和开源建站软件对比图
-
开放元素
openElement 是一个免费和开源的网站构建器软件,它允许使用预定义的模板或从头开始使用 HTML 或 CSS 编码。 它更喜欢 Godaddy 发布您的网站。 用户可以使用 openElement 优化他们的网站以获得更好的用户体验。 它有一个所见即所得的界面。 这个开源网站构建器软件允许用户通过拖放选项插入 Web 对象。
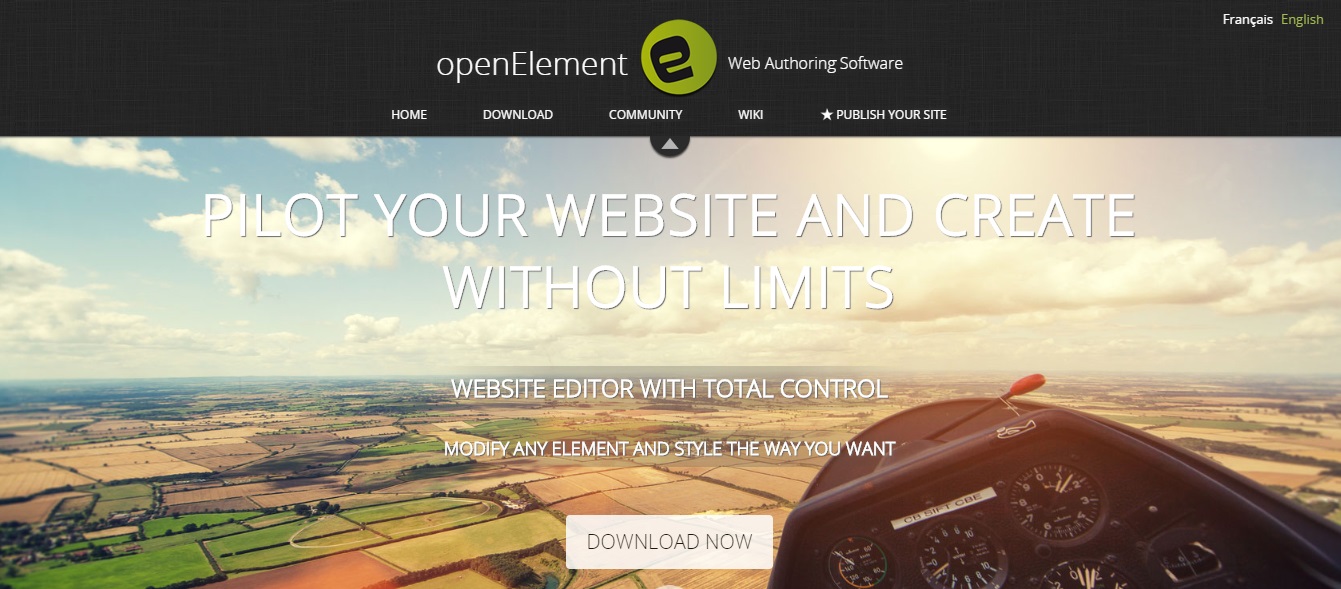
(源-openElement)
特征:
- 直观的界面
- 数据库
- 图像和代码优化
- 一切都是可编辑的
- 托管代码
- 页面层
- 跨浏览器
- 搜索引擎优化整合
- 多语言网站
- 响应式设计
- 完全可定制的 CSS
- 元素编辑器 - 创建和共享元素
- 轻松集成脚本
- 可重复使用的样式和元素包
-
葡萄JS
GrapesJS 是一个免费的开源网站构建器,具有多用途的 Web 构建器框架。 它有助于在没有编码知识的情况下构建 HTML 模板。 如果您想查看使用 GrapesJS 的演示网页,请单击 此处。
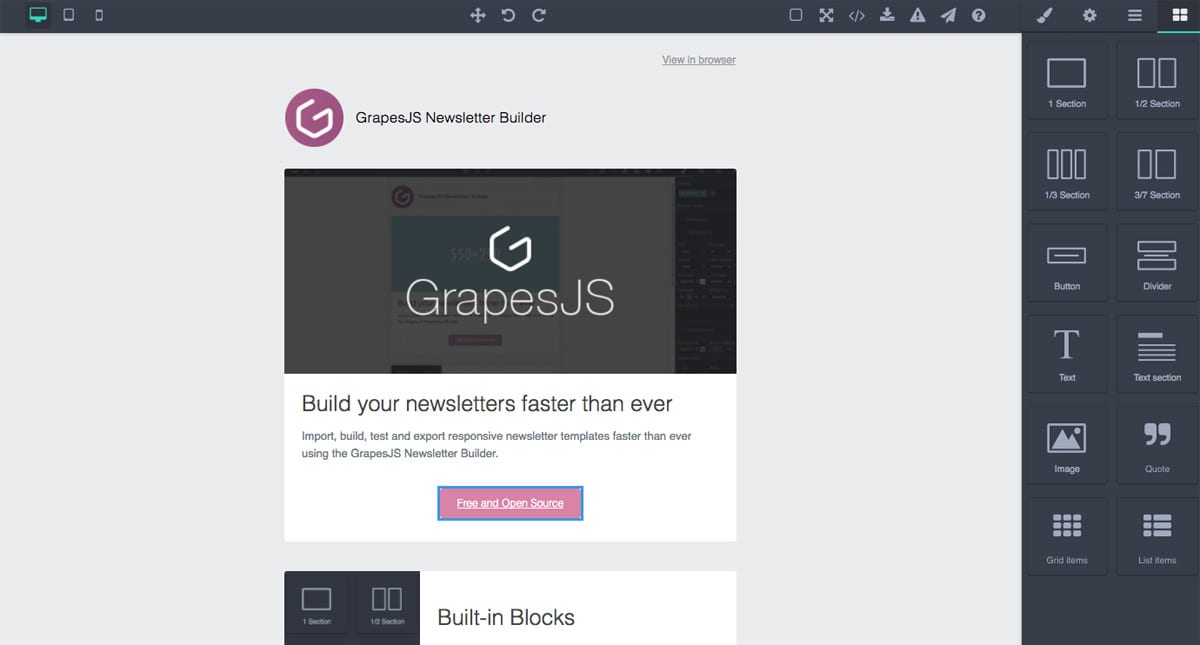
(来源-GrapesJS)
特征:
- 拖放内置块
- 响应式设计
- 使用图层管理器管理和重新排列您的元素
- 如果用户希望编码,则可以使用代码
- 实现存储接口以在编辑器中使用
- 用于组织媒体文件的资产
- 用于添加地图、视频、链接、报价等的各个部分。
- 多种样式格式
- 实现存储接口
- 编辑文本、图像、列
- 在块之间添加空间
-
燧石
Silex 是一个免费的开源网站构建器软件。 Silex 允许用户硬盘上的网络文件。 Silex 通过 Dropbox 获得对文件的访问权限。 如果文件在用户的服务器上,那么 Silex 可以通过 FTP 访问它们。 网站准备就绪后,经过优化的用户可以在线发布。 Silex 在用户的计算机上存储一个 HTML 文件。 通过这个开源网站构建器软件构建的所有网站都是搜索引擎友好的。 Silex 可以安装在用户的桌面上并集成到他们的基础架构中。

(来源-Silex)
特征:
- 中央配置管理器
- 实时网络创建
- 迭代设计
- 拖放 HTML 元素
- 编辑文本、图像、HTML 框
- 永远不会丢失您的数据
- 无需代码即可添加、删除或更改业务规则
- 使用实时预览编码 CSS
- 从浏览器中构建网站
- 从任何计算机立即工作
- 无需安装
- 在不离开浏览器的情况下编写 CSS
- 简单的对话框和菜单
- 开放网络标准
-
雨果
Hugo 是一个快速的免费和开源网站构建器,支持内容管理。 这款开源网站构建器软件支持无限的内容类型、分类法、菜单、动态 API 驱动的内容等,所有这些都无需插件。 Hugo 的简码灵活且有用。 它具有内置模板,可以快速构建您的网站。 Hugo的框架具有分析功能、SEO优化、评论功能。
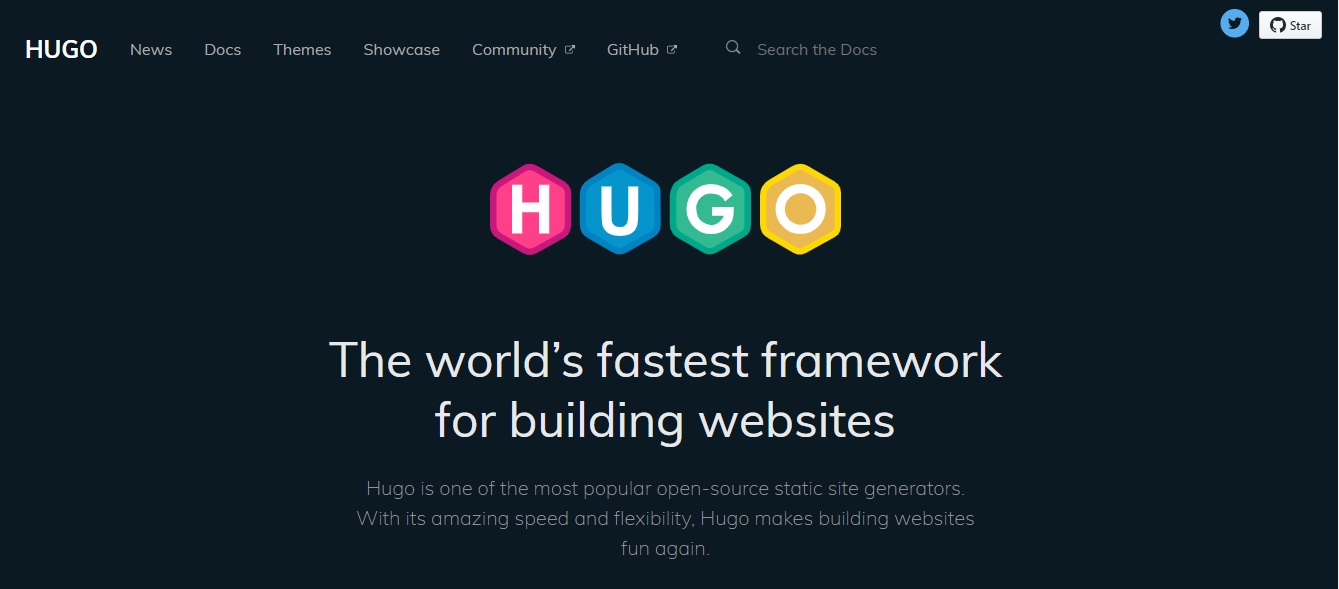
(来源-雨果)
特征:
- 极快的构建时间
- 设置客户预约和提醒
- 支持可配置的分类法、类别和标签
- 支持多语言网站
- 描述自定义输出的图标
- 漂亮的 URL 支持
- 集成的谷歌分析支持
- 自动 RSS 创建
- 以 JSON 或 AMP 等多种格式输出内容
- 托管在任何服务器或您喜欢的 CDN 上。
- macOS、Linux、Windows 上的跨平台安装
- 自动生成目录
- 动态菜单创建
-
姜戈
Django 是一个免费的开源网站构建器和一个用 Python 编写的内容管理系统。 它使用 Django Web 框架,并在 BSD 3 下获得许可。它允许用户从 Wordpress 或 Drupal 迁移。 这个免费的网站构建器软件提供了现成的免费 Django 模板。 它允许可以从单个仪表板查看的免费无限项目。
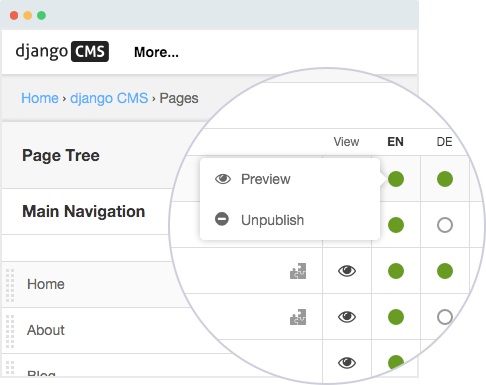
(来源-Django)
特征:
- 多站点能力
- SSL 和 LDAP 身份验证
- 可控备份
- 可定制的所见即所得编辑器
- 拼写检查程序
- 版本控制,撤消更改
- 拖放内容管理
- 大量上传图像/文件
- 自动图像编辑(例如,缩放)
- 自由结构(菜单、类别)
- 可搜索的资产(PDF、元数据)
- 支持 HTML5/CSS3
- 通讯和电子邮件活动管理
- 表单生成器
- 民意调查、调查、测验工具
-
公众号
Publii 是一款免费的开源网站构建器软件,可让您构建无限的网站。 它在 Windows 7、8 和 10(64 位)、macOS 和 Linux 64 位上运行。 它使您的网站保持更新,因此搜索引擎将轻松找到您的网站。 它支持数据标记、元标记、图表、加速移动页面 (AMP)、文件压缩和自动生成的站点地图。
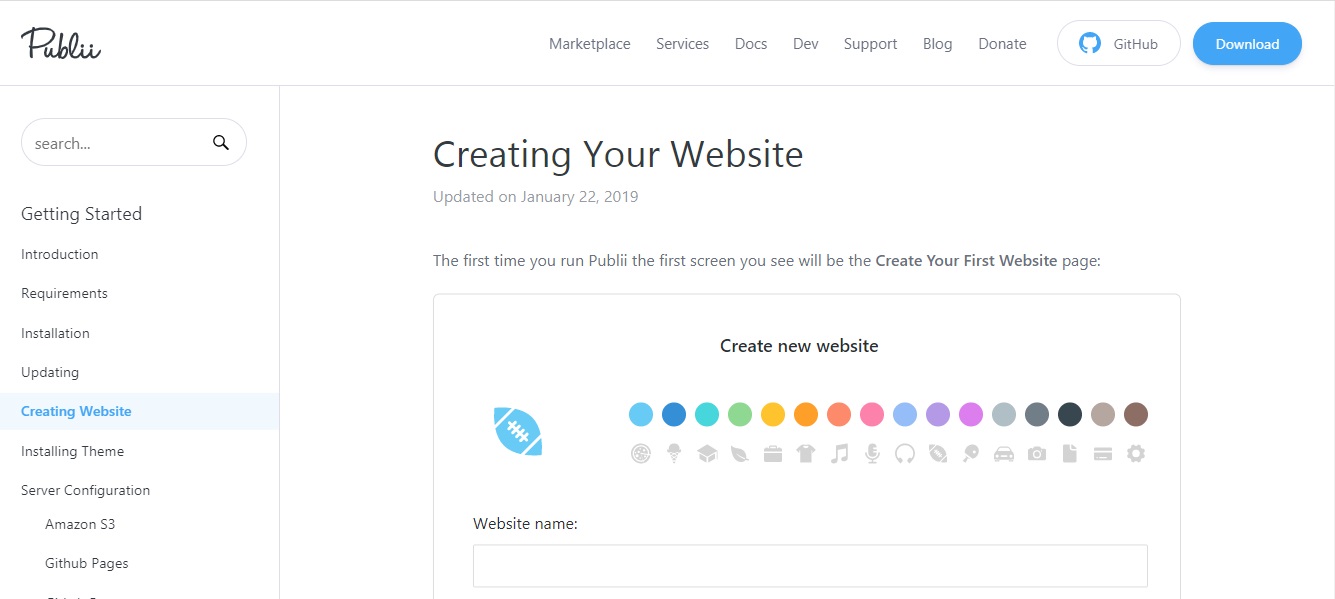
(来源-国外)
特征:
- 网站速度超快
- 通过 Publii 构建的网站很难破解
- 使用 Google AMP 技术打造现代网站
- 随时随地管理您的网站。
- 通过 Dropbox 或其他云存储共享您的网站
- 让多个用户更新您的内容
- 您的 SEO 掌握得很好
- Publii 具有灵活的搜索引擎排名选项
- 直观的用户界面
- 内置 WordPress 导入器 - 传输您的博客文章、页面和类别
- 简单的帖子编辑器,可简化文本样式
- 添加图像、标签和其他内容
- 提供实时预览
-
Joomla
Joomla 是一个免费和开源的网站构建器软件。 由 Open Source Matters, Inc. 开发。Joomla 是用 PHP 编写的,将数据存储在 MySQL 或 PostgreSQL 数据库中。 超过 8,000 个扩展程序可通过其目录使用。 它能够制作企业网站、博客到电子商务网站。 Joomla 得到了一个大型开发者社区的支持。
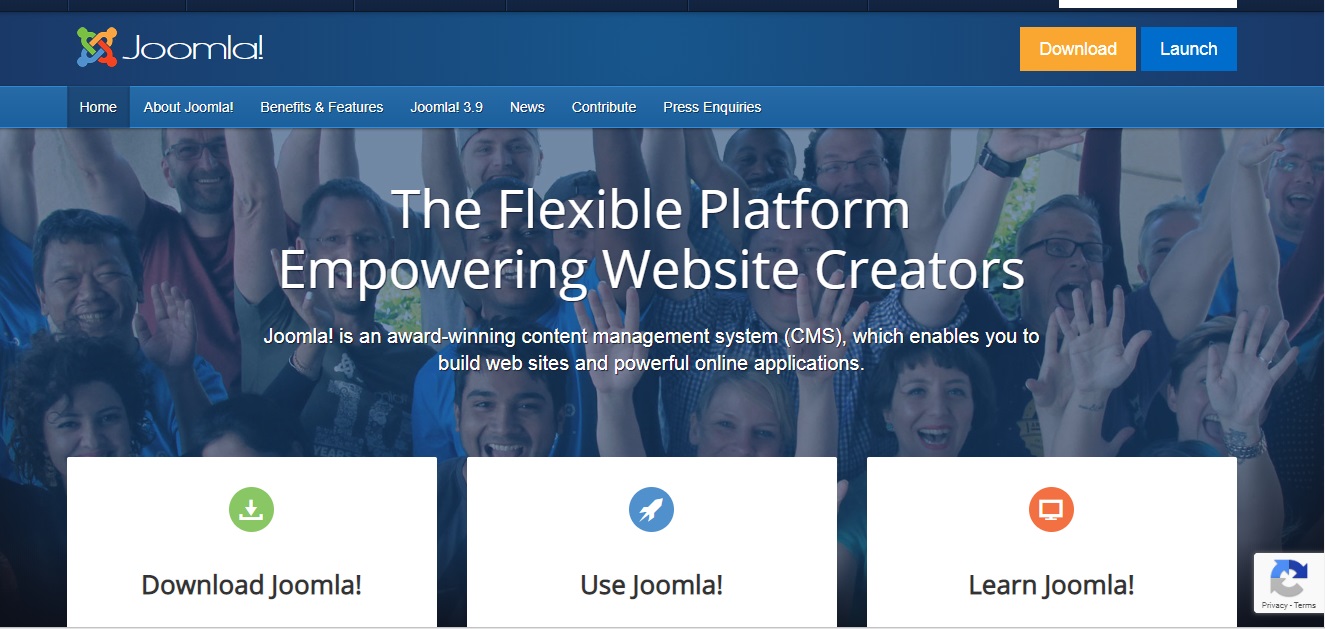
(来源-Joomla)
特征:
- 在需要时轻松重定向 URL。
- 添加联系表格
- 从您的内容创建 RSS 提要
- 在管理员之间发送消息
- 允许您呈现 HTML
- 模板分配
- 响应式设计
- 可用的发布工具
- 所见即所得编辑器
- 内容版本控制
- 添加、管理和组织您的文章。
- 拖放图像
- 媒体管理器上传和维护图像
- 一键更新 Joomla。
- 使您的扩展程序保持最新
- 在不离开后端的情况下安装扩展
-
苏比翁
Subrion 是基于 PHP/MySQL 构建的免费开源网站构建器软件。 它用于建立网站和大型门户网站。 它带有一个功能强大的管理仪表板和多语言 CMS。 它带有许多免费模板和内置的广泛博客功能。 用户可以使用高级 API 框架创建更多扩展。
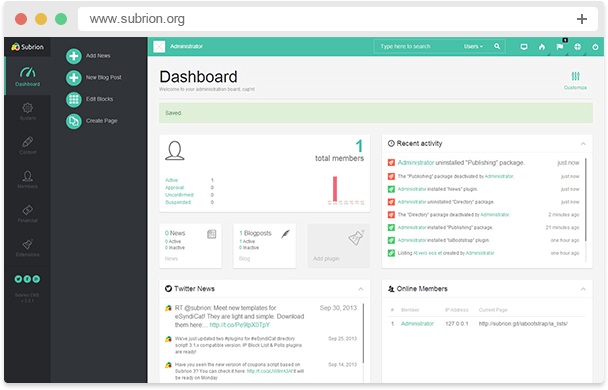
(来源-Subrion)
特征:
- 大量免费插件和模板
- 管理员仪表板
- 包容性 SEO 工具
- 创建站点地图并优化标题标签
- 元关键字和元描述
- 移动友好
- 查看网站活动并进行控制
- 用户管理
- 内置用户管理功能
- 简单的核心更新
- 自动应用次要更新和安全更新
- 轻松的内容管理
- 使用所见即所得的编辑器
- 控制您网站的每个页面、菜单或块
- 拖放方法
- 快速访问最常见的任务
- 实时查看您的在线访问者
您可以从上面列出的 8 个最佳免费和开源网站构建器软件列表中进行选择, 以制作美观且强大的网站。 如果您仍然需要功能更全面的网站构建器软件,那么您可以使用最流行的网站构建器-Wordpress。 Wordpress 无需介绍。 仅 WordPress 就为超过 35% 的网络提供支持,因此人们可以了解它的巨大影响力。 让 Wordpress 有趣的是, 一家为价值数十亿美元的网站提供支持的公司没有 CEO。 它由世界各地的志愿者开发人员以民主的方式运行。 每天使用 WordPress 构建大约 500 多个网站。 让我们详细看看它的特点:
WordPress
Wordpress 是一个免费和开源的网站构建器软件和一个强大的 内容管理系统 。 WordPress 是一款专为可访问性、安全性、性能和易用性而设计的软件。 它需要最低限度的设置,并具有构建高质量网站的强大功能。 一大群人合作运行 Wordpress。 它允许用户构建从简单网站到复杂门户的所有内容。 这个免费的网站构建器带有数千个插件,这些插件集成以扩展其功能。
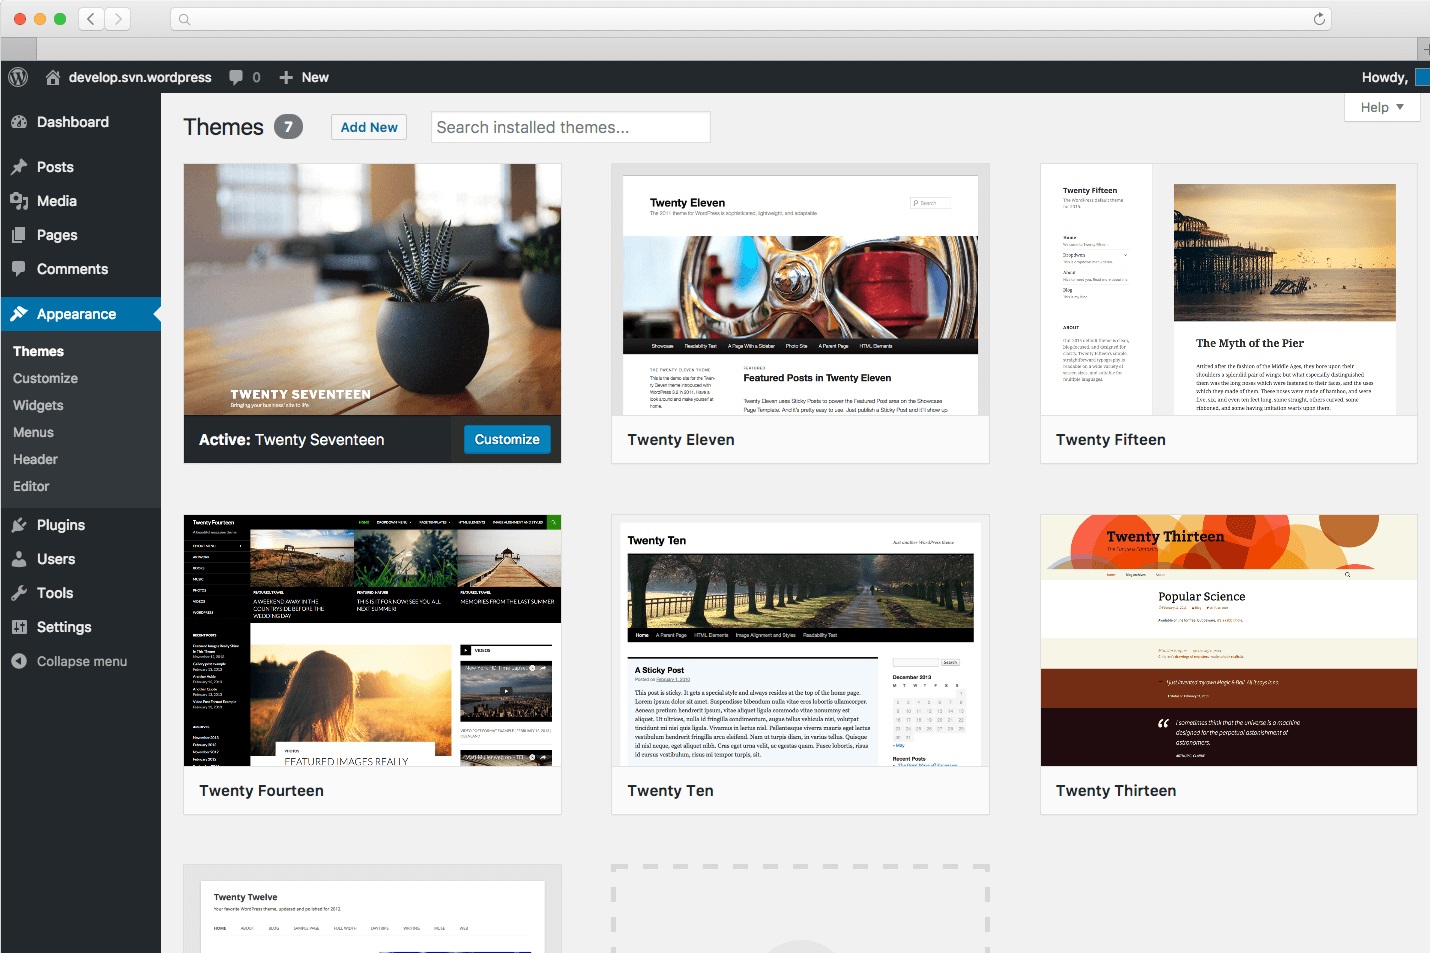
(来源-Wordpress)
特征:
- 它有一个非常简单直观的建站平台
- 创建任何类型的网站:个人博客或网站、商业网站、专业作品集、杂志或新闻网站等等。
- 用于添加社交媒体、垃圾邮件防护、日历、表单等功能的插件目录。
- 使用免费的网站主题,并使用插件对其进行扩展。
- 创建帖子和页面
- 创建草稿,安排发布
- 有各种贡献者/作者到您的网站
- 将您的内容设为公开或私有
- 使用密码保护帖子和页面。
- 轻松将图像和媒体上传到 WordPress
- 拖放您的媒体,添加替代文字和标题
- 提供 70 多种语言版本
- WordPress 在 GPL 下获得许可
- 创建主题的可扩展性
- 最新的 WordPress 5.4 版“Adderley”(2020 年 3 月 31 日)添加了新块、更快的编辑器速度和更简洁的 UI。
结论
您的企业可以拥有强大的社交媒体影响力,但对于强大的品牌建设和卓越的客户体验,网站是一个至关重要的实体。 此外,时事通讯和博客订阅流量更多来自定期更新的网站。 因此,维护良好的网站是您业务可持续增长的价值主张。
免费和开源的网站构建器软件包含有助于构建行业级商业网站、博客网站和登录页面的所有功能。
在选择合适的建站软件之前,请记住以下 4 点:
- 仅选择允许您添加外部插件的网站构建器
- 检查网站构建器软件是否可以使网站在所有设备(平板电脑、移动设备、计算机等)上都可以查看。
- 选择一个为您提供安全选项的网站构建器,以保护您的网站免受垃圾邮件、病毒攻击、恶意软件等的侵害。
- 选择可以与 Google Analytics 集成的网站构建器,为您提供有价值的网络洞察
企业、博客作者和自由职业者可以从本文讨论的任何免费和开源网站构建器软件中进行选择。

 English
 中文
中文 


